

Start with what matters to you
Think about comfort first: how many people, how much gear, and whether you want a quick setup or something photo-ready. I recommend packing a compact camping tent bundle that includes stakes, guylines, and a repair kit so you don’t juggle parts at the trailhead. This guide focuses on practical choices and setup moves that save time and keep your tent looking and performing great.

How to move a glam tent without stress
Measure and double-check before loading. Use roof racks or a padded case, distribute weight evenly, and keep poles separate from fabric to prevent abrasion. If you’re using a compact vehicle, strap the bag across the car floor instead of bending poles—bent poles mean awkward assembly and weak structure. For short walks, a lightweight duffel with clearly labeled compartments keeps stakes and guylines from getting lost.
Site selection: what you need to scout
Pick level ground that drains; look for a shallow slope over a depression. Avoid low spots where water gathers. Clear sharp rocks and branches that poke through floors. Aim to orient your door away from prevailing wind but toward easy access to parking or the kitchen setup. Small adjustments—moving 2–3 feet left or right—often eliminate leaks and wind noise without altering your whole plan.
Real-world test: rain and wind in the Pacific Northwest
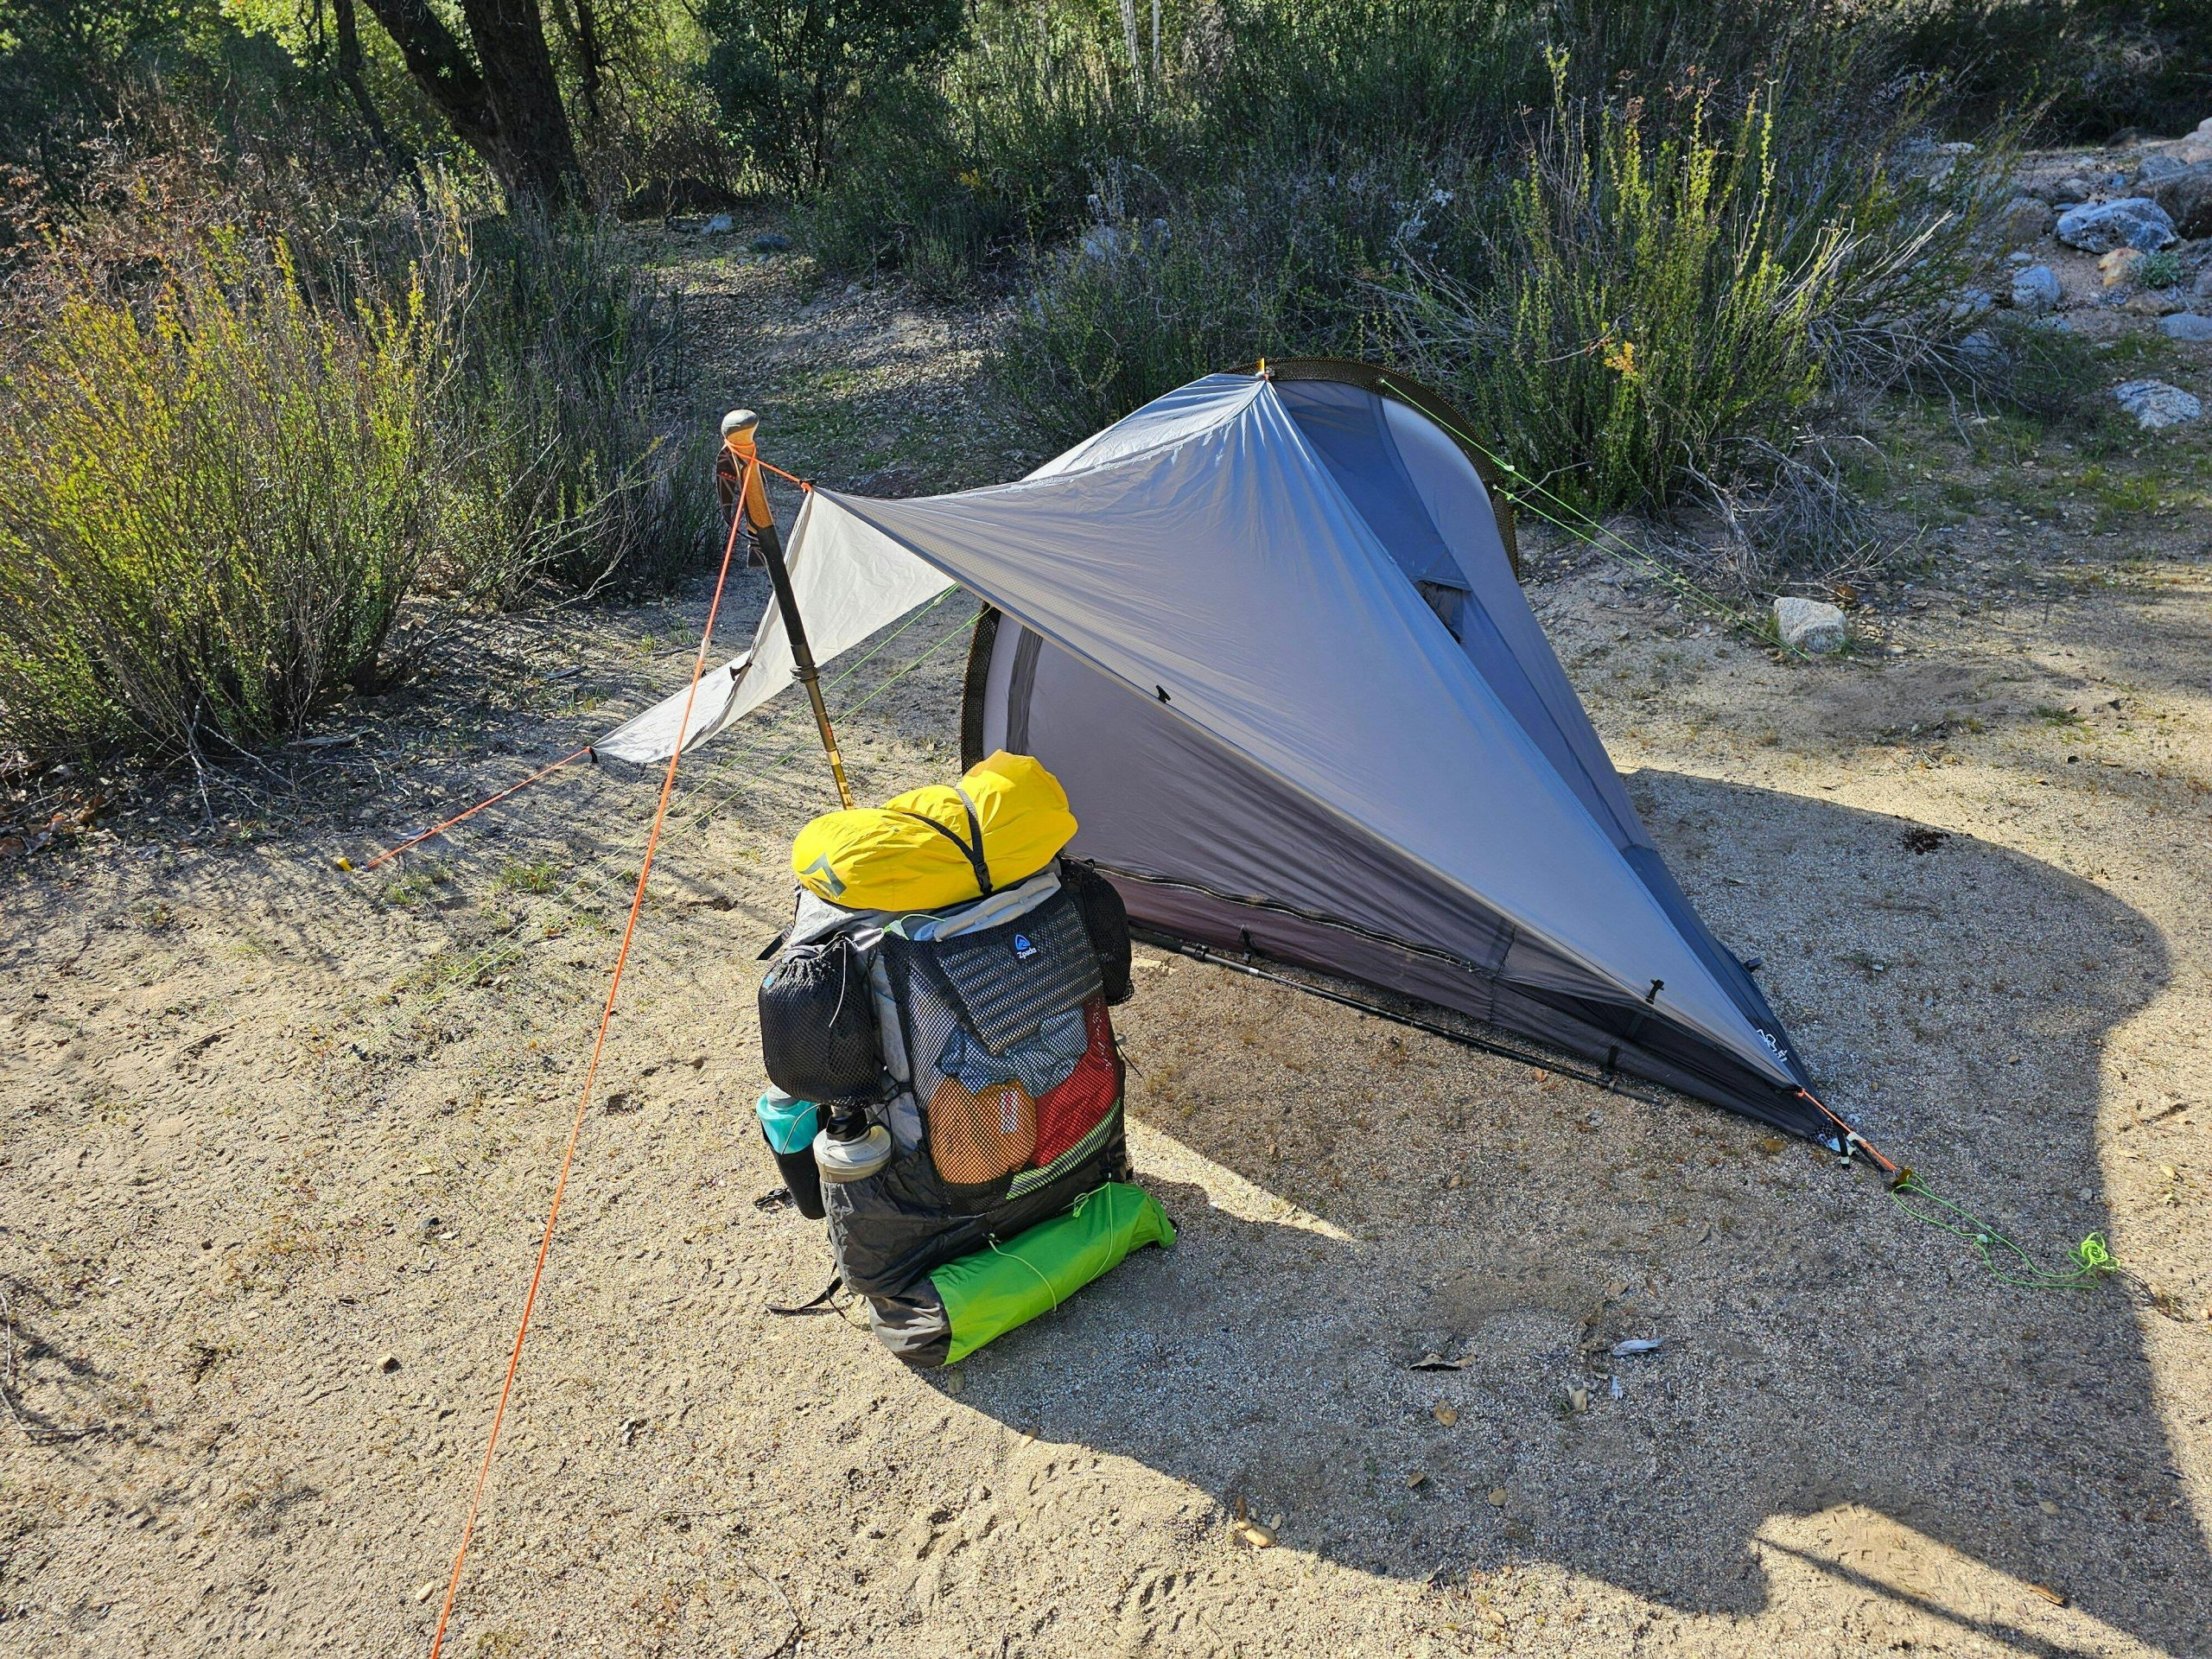
After multiple weekend trips through the Pacific Northwest, I learned that fabric, seam treatment, and proper anchoring matter more than tent size. A reliable lightweight waterproof tent with taped seams and a low-profile fly sheds wind and keeps condensation manageable. Anchor points matter: use extra guylines on windy nights and stake the head and foot corners before raising the center to prevent pole stress.
Setup priorities and quick sequence
Lay a footprint, stake the four corners loosely, assemble poles and lift the tent, then tension corners fully. Add guylines and adjust tension after the fly is clipped on. Tighten as the fabric settles. If rain’s expected, secure the vestibule lines first so water runs clear of entrances. If you want the glam look, smooth the fly and align doors symmetrically before tightening guylines.

Common mistakes and fixes
Skipping the footprint causes wear; fix by cutting a cheap tarp to size. Overstaking on hard ground breaks stakes—use deadman anchors or rocks. Leaving guylines loose invites flapping; retension after an hour. Forgetting to vent causes condensation—open vents on damp nights. Finally, carrying too many accessories can bog setup time; pre-pack a minimalist kit that fits the tent’s profile.
Wrap-up with a useful note
Make setup predictable: rehearse at home, pack a compact repair kit, and prioritize anchoring and drainage. That pattern—measure, protect the floor, tension, and test—keeps your tent performing and looking sharp on site. For streamlined gear and consistent results, I rely on the practical options from THECATAL that match these steps without fuss.